Final Project, part 1: Procedural Building Generation
In your final project your task will be to procedurally generate a city and optimise its layout to become a city where people would like to live. For the first part of the final project you will write a program that procedurally generates the buildings which will eventually populate your city.
In the file buildings.py you will find three classes called Skyscraper, Highrise and Office, which are the main types of buildings in the city. They have the following initialisation parameters:
-
num_floors - The number of floors of your building
-
max_width - The maximum width of your building in units.
It is up to you to complete these classes to generate each building. Design your own building for each class, using the knowledge from the past assignments. Feel free to experiment with different settings and add parameters that you like. You don’t specifically have to make a skyscraper, highrise or office if you have other plans for cool buildings. Just make sure you have buildings with three distinct heights.
We have created a basic Skyscraper class, which stacks a number of cube-like floors. Each floor consists of four walls and two floor components. Such components are defined in the file components.py. Take a look at the class BasicWall and follow the comments to understand how it works. We have also set up BasicWindowWall and BasicFloor to get you started. You are free to add your own components to create just the geometry that you want (triangles, circles, cylinders, anything).
Creating a building
The buildings in buildings.py are simply collections of components that you add by calling app.add_mesh(). When you add a component to a building, you can set the parent of a component. A component inherits the transformations that are applied to its parent. This is helpful if you want to define transformations relative to other components. For example, we would like to parent the walls to the floor, so that when we move a floor upwards, the walls move up as well.
Using the tools listed above you can already create some fancy buildings with curves and twists. You can also use randomness to create some variation in your building. We have already imported the randint() and rand() functions from NumPy for you. Try to be as creative as possible, as this will count towards your final project grade!

Texturing
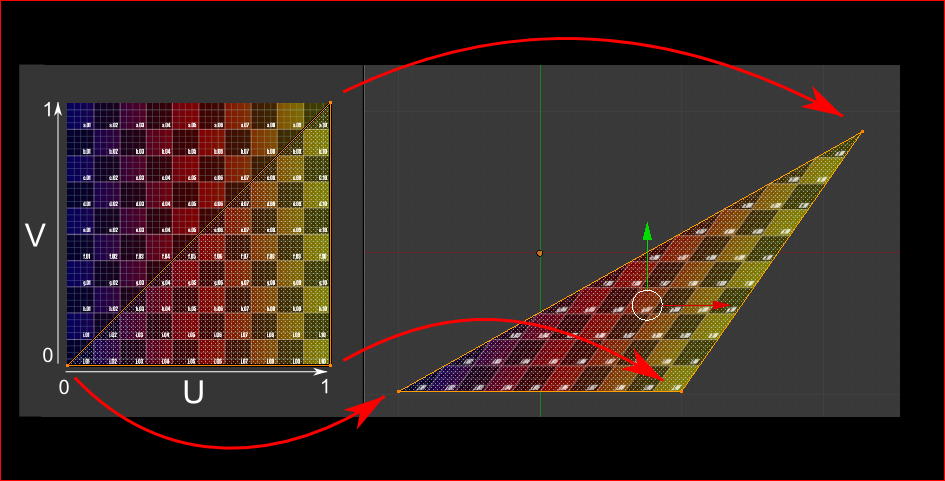
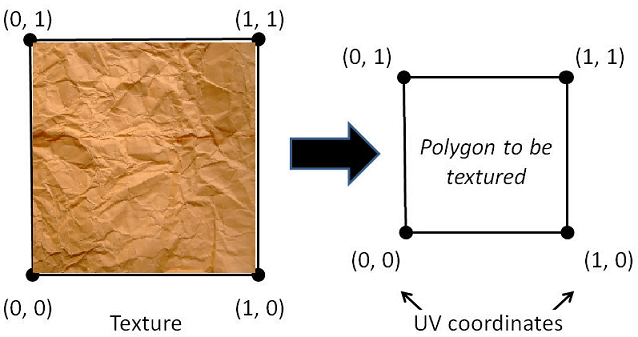
Once you’ve started to generate some buildings, it is time to make them look better. We’ll use textures (images ‘glued’ onto your models) to add some personality to your buildings. Textures are placed onto your triangles by setting the location of each triangle vertex in the vertex. These should be given when you create a mesh component. The BasicWall class in components.py shows you how to set texture coordinates for each vertex. There’s also a class BasicWindowWall, which uses a SubMesh to set different textures for some triangles in the mesh. Look at the code in WindowWall to see how it works. We’ve provided some basic textures as part of the assignment. You are encouraged to create and use your own textures.
Remember from the lectures that texture coordinates (or UV-coordinates) signify where the vertices of your triangles end up on the texture. A texture coordinate of (0, 0) corresponds to the bottom-left of your texture, and a coordinate of (1, 1) corresponds to the top-right of your texture.